


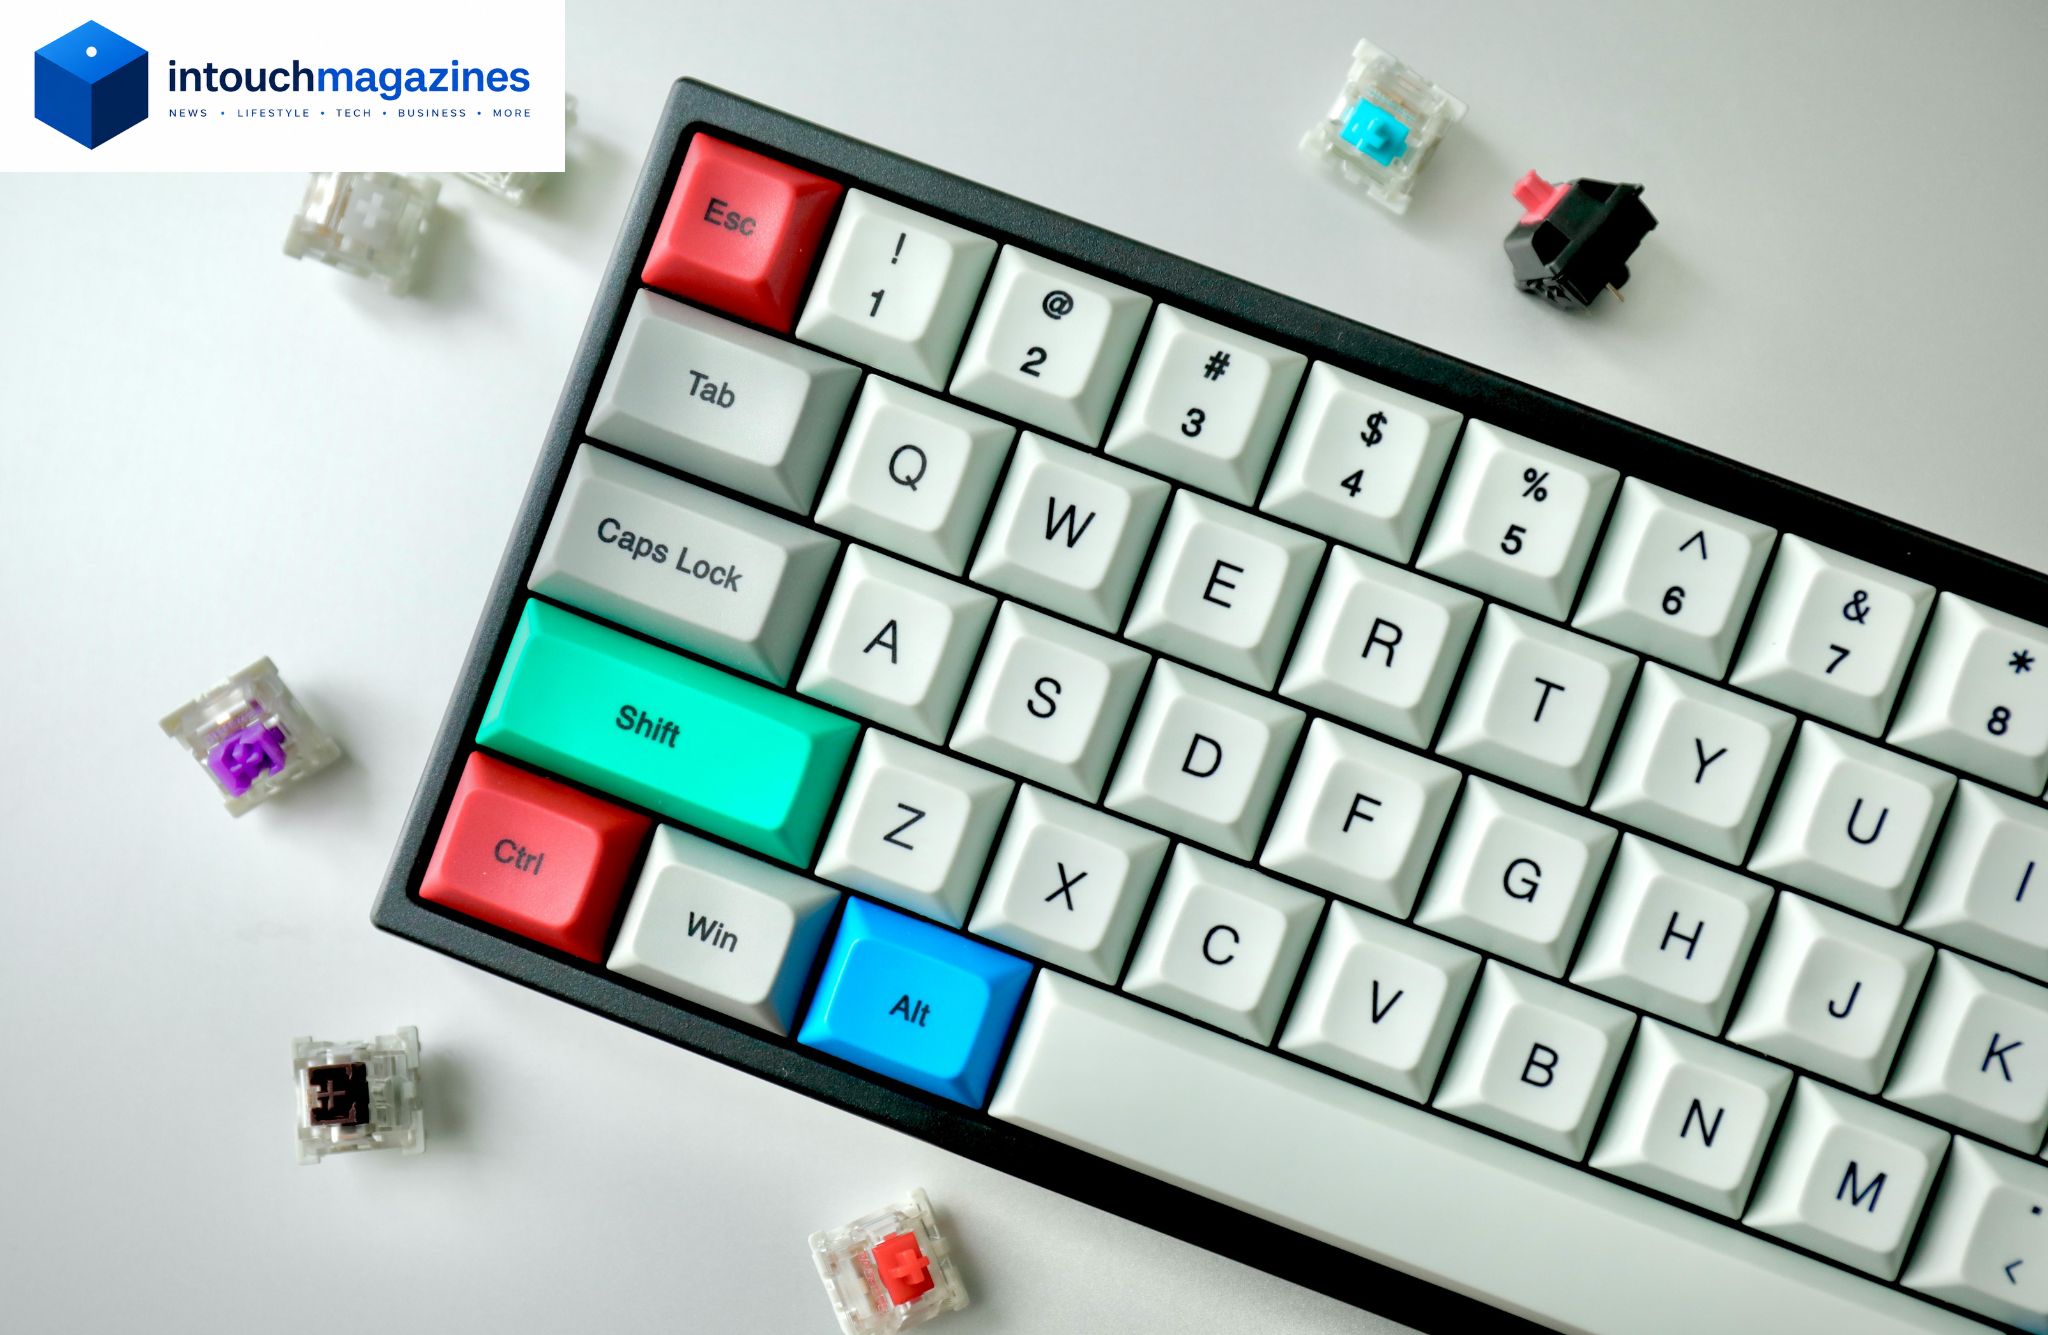
How to Clean a Keyboard (Without Breaking It)
Here’s an uncomfortable fact: your keyboard is probably dirtier than your toilet seat. Crumbs wedge themselves between the keys, coffee finds its way into gaps it has no business reaching, and skin oils build up on every key you touch dozens of times a day. Eventually a key starts sticking, or stops registering at all, and that’s usually when people finally decide to do something about it.
This guide walks through how to clean any keyboard safely, whether it’s a laptop, a mechanical board, or a standard office keyboard, without damaging the keys or the electronics underneath.
How to Clean a Keyboard: Step-by-Step
Here’s the short version, if you just need the method without the full explanation:
- Unplug the keyboard, or shut down and unplug your laptop entirely
- Turn it upside down and gently shake or tap it to knock loose debris free
- Use compressed air to blow crumbs and dust out from between the keys
- Wipe the surface with a microfiber cloth lightly dampened with isopropyl alcohol
- Clean between keys using a cotton swab or a cleaning gel
- Let everything air dry completely before plugging it back in or turning your laptop on
That covers the basics. The sections below go into more detail for specific keyboard types, along with what tools actually work and which ones to avoid.
Why Keyboards Get So Dirty in the First Place
It’s not really surprising once you think about it. Hands touch keyboards constantly, and hands carry skin oils, food residue, and whatever else they’ve picked up throughout the day. Crumbs from eating at your desk fall naturally into the gaps between keys and tend to just stay there, since there’s nowhere else for them to go.
Multiple studies over the years have found that keyboards carry more bacteria than toilet seats, largely because toilet seats get cleaned regularly and keyboards rarely do. Beyond the gross factor, there’s a practical issue too: buildup under the keys is one of the most common causes of sticky or unresponsive keys, and over time it can shorten how long a keyboard actually lasts.
Tools You’ll Need Before You Start
A proper clean doesn’t require anything exotic. A can of compressed air handles loose debris. Isopropyl alcohol, ideally 70% or higher, paired with a microfiber cloth takes care of surface grime and disinfecting. Cotton swabs or a small brush help get into tighter spots, and keyboard cleaning gel, that putty-like substance you press into the keys and peel back out, works surprisingly well for pulling out debris you can’t reach otherwise. If you’re planning to remove keycaps for a deeper clean, a small keycap puller or flathead screwdriver will be necessary too.
What to Avoid Using
A few products and habits do more harm than good here. Household glass cleaner or anything ammonia-based can strip the coating off keys over time, so it’s best left for windows, not keyboards. Excess water is another common mistake, soaking a cloth instead of lightly dampening it risks liquid seeping down into the switches or circuitry underneath. And while it might seem logical, running a vacuum directly over a keyboard can actually pull small keys loose or damage delicate components, especially on laptops and mechanical boards.
How to Clean a Laptop Keyboard
Laptop keyboards need a bit more caution since they’re harder to take apart and everything sits closer to sensitive internal hardware. Always power the laptop off completely before cleaning it, and never attempt to clean it while it’s plugged in or running.
Hold the can of compressed air at an angle rather than straight down, which helps push debris out sideways instead of further into the keyboard. When it comes to wiping the surface, stick to a lightly dampened cloth only. Spraying any liquid, including alcohol, directly onto a laptop keyboard is one of the fastest ways to cause real damage.
How to Clean a Mechanical Keyboard
Mechanical keyboards are a bit more forgiving to clean thoroughly, mainly because the keycaps are designed to come off. A keycap puller makes this simple and reduces the risk of snapping a keycap compared to prying with your fingers.
Once the keycaps are off, you’ll have direct access to the switches and the plate underneath, which is where most of the accumulated dust and crumbs actually live. Clean this area with compressed air and a small brush, then wipe down the exposed plate with a lightly dampened cloth. When reassembling, take your time matching each keycap back to its original position, since keycap sets often have slightly different shapes for different rows. Because mechanical keyboards have more open space around each switch, they tend to collect debris faster than standard keyboards, so a deeper clean every so often pays off more here than on other keyboard types.
How to Deep Clean Between and Under the Keys
For keyboards you’d rather not fully disassemble, cleaning gel is genuinely one of the more effective tools available. Press it into the gaps between keys, let it settle for a few seconds, then peel it back out, it pulls crumbs and dust along with it. Cotton swabs dipped lightly in alcohol work well for tighter gaps the gel might miss, particularly around the edges of larger keys like the spacebar or shift keys.
A soft brush, even an old toothbrush, works well for loosening dust before wiping everything down, since it’s easier to remove debris once it’s been dislodged from its resting spot. For most people using their keyboard daily, a deep clean along these lines once a month is plenty to keep things functioning properly.
How to Disinfect a Keyboard Properly
Cleaning and disinfecting aren’t quite the same thing. Cleaning removes visible debris and buildup, while disinfecting actually kills the bacteria and germs living on the surface, which is a separate step worth doing regularly, especially if you eat at your desk or share a workspace.
Alcohol wipes or a cloth lightly dampened with isopropyl alcohol handle disinfection well. Focus on the areas that get the most contact: the spacebar, your most-used letter keys, and the edges of the keyboard where hands tend to rest. This step matters even more in shared or multi-user setups, like office hot-desking arrangements or family computers, where more than one person’s hands are touching the same keys throughout the day.
How Often Should You Clean Your Keyboard?
A quick wipe-down once a week handles the basics for most people. A proper deep clean, going between and under the keys, is worth doing about once a month. Any time there’s a spill or visible debris, that calls for immediate attention rather than waiting for your next scheduled clean.
How often you need to adjust this depends on your habits. Eating at your desk regularly, sharing a keyboard with others, or dealing with allergies that make dust more of an issue are all good reasons to clean more frequently than the general guidelines above.
Frequently Asked Questions
A small amount on a damp cloth is fine for wiping the surface, but you should never pour or spray water directly onto a keyboard. Excess moisture can seep into the switches and cause permanent damage.
Remove the keycap if possible and clean both the cap and the switch underneath with a cotton swab dipped in isopropyl alcohol. Let it dry fully before putting the keycap back on.
No, this isn’t recommended for almost any keyboard. Some very basic membrane keyboards can technically survive it in rare cases, but the risk of ruining the electronics is high, and it’s not worth the gamble.
Unplug it immediately, turn it upside down to let the liquid drain out, and avoid pressing any keys until it’s fully dry. For sticky spills like coffee or soda, a deeper clean with alcohol and cotton swabs will likely be necessary once everything has dried out.
Yes, on most mechanical keyboards this is a normal part of maintenance. It’s riskier on laptop keyboards and some low-profile keyboards, where keycaps are more fragile and harder to reattach correctly.
Conclusion
Cleaning a keyboard properly comes down to a fairly simple routine: unplug it, clear out loose debris, wipe it down with a lightly dampened alcohol cloth, disinfect the high-contact areas, and let everything dry fully before using it again. Staying consistent with light, regular cleaning is what actually prevents the need for a major deep clean down the line, and it goes a long way toward keeping your keys responsive and your keyboard lasting as long as it should.